How to Write AI Image Prompts: The Complete Beginner's Framework
A six-part framework for writing AI image prompts that actually work — built and shown step by step with a real example, not just theory.
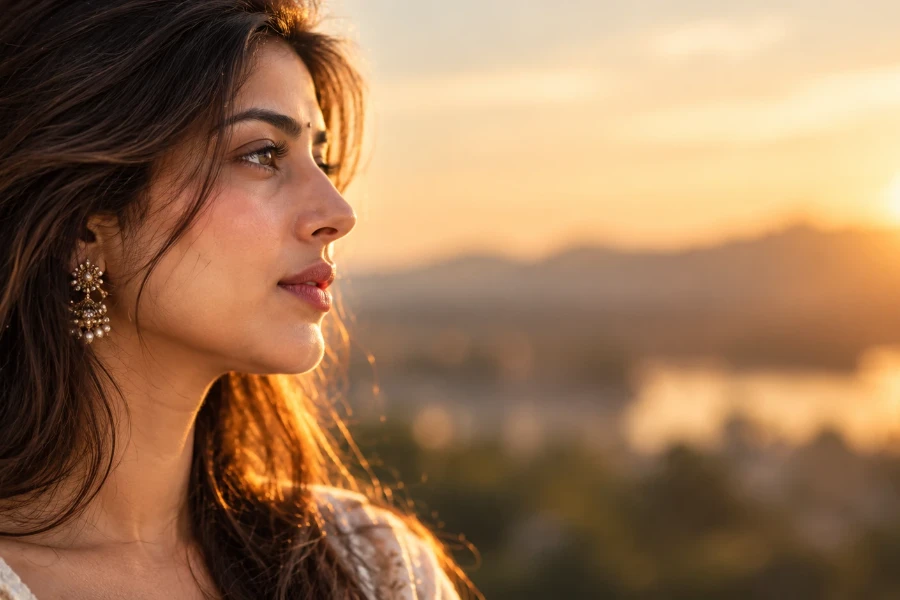
How to Write AI Image Prompts: The Complete Beginner's Framework
If you've typed "a beautiful sunset" into an AI image generator and gotten back something flat, generic, or just... off, the problem isn't the tool. It's the prompt. AI image generators don't read your intent — they read specific, structured language. Once you understand the six components every strong prompt is built from, you stop guessing and start directing.
I've written thousands of prompts for Visulora's gallery, and this guide breaks down the exact structure that consistently works: what each component does, why it matters, and how to combine them — built step by step using a real prompt, not just described in theory.
Why Most Beginner Prompts Fail
A prompt like "a beautiful sunset" fails because it gives the model almost nothing to work with. "Beautiful" isn't a visual instruction — it's a value judgment the model has to guess at. The fix isn't writing more words, it's writing more specific ones.
A quick before/after shows the gap:
Vague: "a cool portrait" → Specific: "a woman in her 30s, side profile, studio lighting, 85mm lens, shallow depth of field"
Same idea in each pair, completely different level of control. That gap is what the rest of this guide closes.
Every strong AI image prompt answers six questions. The first five are additive — what you want in the image. The sixth is subtractive — what you want kept out.
What is the subject, exactly?
What visual style or medium should it look like?
What is the lighting doing?
How is the shot composed?
What technical or medium-specific detail should it mimic?
What should be excluded?
Skip a component and the model fills the gap with its default — usually the most generic, most "averaged" version of that concept. Specify it, and you take back control.
The Core Formula
Stack the first five and you go from "a beautiful sunset" to something with real shape and control. Add the sixth when a specific artifact keeps showing up and you want to rule it out directly, rather than rewriting the whole prompt and hoping.
Subject: Be specific, not just descriptive
Vague: "a dog." Specific: "a scruffy grey terrier mid-jump, tongue out, muddy paws." Age, expression, action, and physical detail all reduce ambiguity. If a subject matters to the composition (a person's pose, an object's material), say so directly rather than implying it.
Style: Name the visual language
"Style" tells the model what universe of images to pull from: editorial photography, oil painting, 3D render, anime, product photography. Vague style terms like "artistic" do almost nothing — named styles, mediums, or even specific eras ("1970s film photography") give the model a concrete target.
Lighting: The single highest-leverage word you can add
Lighting does more to change mood and realism than almost any other component. "Golden hour," "harsh overhead light," "neon backlighting," and "soft window light" each produce a completely different image from the same subject. See this in action: browse [Golden Hour Portrait prompts on Visulora's Explore grid] to see the same subject shift entirely with lighting alone. (Full lighting vocabulary — rim light, neon, studio setups — in our companion guide, Cinematic Lighting Prompts Explained.)
Composition: Direct the frame, not just the subject
Composition terms tell the model how to frame the shot: "close-up," "wide shot," "rule of thirds," "shot from below," "shallow depth of field." Without this, the model defaults to a centered, medium-distance shot — functional, but generic.
Medium & technical detail: The realism (or authenticity) layer
For photorealistic work, this means camera and lens terms — "85mm f/1.4," "35mm street photography," "shot on Kodak Portra 400" — which tell the model to mimic real optical characteristics: depth-of-field falloff, grain, color rendering. For non-photographic styles, swap in medium-specific terms instead: brushstroke texture for painting, line weight and cel-shading for anime, render engine style for 3D work. Same slot in the formula, different vocabulary depending on what you're making. (Full breakdown of the photographic terms in our Camera & Lens Prompt Modifiers Glossary.)
Exclusions: The fix for "90% right, one thing wrong"
This is the component beginners hit friction on without realizing it's solvable. You get an image that's almost exactly right except one recurring problem — extra fingers, unwanted text, blown-out highlights — and it feels like bad luck. It isn't. Naming the exclusion directly ("no text," "no extra limbs," "avoid oversaturation") is a structural fix, not a gamble. This guide covers exclusions as part of the core formula; if you want the deeper mechanics of negative prompting across different tools, that's its own dedicated topic.
Building One Prompt, Step by Step
Here's how the six components stack in practice, building one prompt from nothing to finished:
Subject only: ["a woman in her 40s at a kitchen table, morning light"]
Style: [same subject + "documentary photography"]
Lighting: [same prompt + "warm morning light through a window, soft shadows"]
Composition: [same prompt + "medium shot, shallow depth of field"]
Medium & technical detail: [same prompt + "shot on 50mm f/1.8, natural film grain"]
Exclusions (if needed): [same prompt + "no text, no extra hands"]
Common Mistakes Beginners Make
Stacking vague adjectives ("beautiful," "amazing," "stunning") instead of specific visual instructions
Overloading the prompt with conflicting lighting or style terms (e.g., "golden hour" and "moody blue lighting" in the same prompt)
Skipping composition entirely, then being surprised the framing is generic
Ignoring exclusions when a specific artifact keeps recurring, and rewriting the whole prompt instead of just naming what to avoid
Changing everything at once when adjusting a result, instead of isolating the one component that's off
Frequently Asked Questions
Do I need to use all six components every time? No. Illustration or fantasy-art prompts often skip technical/camera terms entirely, and exclusions are only needed when something specific keeps going wrong. Use the components relevant to the result you want.
Why does my prompt work in one tool but not another? Different models weight prompt components differently — some respond more strongly to lighting terms, others to composition language. This is a real, common frustration; if you're comparing tools directly, see our guide on prompt differences between models for the specifics.
What's the single best component to add if I only change one thing? Lighting, in most cases. It has the largest visible effect on mood and realism per word spent.
Does prompt length matter? Not directly — a precise 20-word prompt beats a vague 60-word one. Length is a side effect of specificity, not a goal.
When should I use exclusions instead of just rewriting the prompt? When one specific thing keeps recurring across otherwise-good results. If the overall image is close but one artifact (extra fingers, unwanted text) shows up repeatedly, naming it as an exclusion is faster and more reliable than rewriting from scratch.
Try It Yourself
Pick one image you want to create, and build it through the six components above instead of writing a single freeform sentence. Once you're comfortable with the core formula, go deeper on the two components with the most range — our [Cinematic Lighting Prompts Explained] and [Camera & Lens Prompt Modifiers Glossary] guides break each one down term by term — or browse the [Explore grid] to see finished prompts in action.